At David Luke, we believe that sustainably made school uniform can be worn for longer. If you’re interested in recycling clothes, why not check out our tutorials made in collaboration with the Ministry of Craft. Don’t let a hole or split seam signal the end of your school uniform. Our easy-to-follow tutorials will help you with some of the most common fixes.
'How to fix' Tutorials

As the school term finishes, we often find ourselves with pieces of uniform that can no longer be used. Whether we’ve repaired all the holes or there’s that one stain we can’t quite get out, sadly these pieces can’t be passed on to the next student or donated. When we spoke to the Ministry of Craft about this issue, they had an amazing upcycling idea to share. This clothes recycling tutorial is a great activity to keep kids entertained during the school holidays. Keep reading to discover how to make a personalised PE bag from an old school sweatshirt.
STEP BY STEP
1) Draw a line from the underarm of one sleeve to the underarm of the opposite sleeve and cut along the line.
2) Close the opening which will be the bottom of the bag. If you haven’t got a sewing machine, you could hand stitch using backstitch or use a decorative blanket stitch.
How To Hand Sew A Backstitch
1) Turn your bag inside out and pin the two edges together where the seam is going to be sewn.
2) Thread a needle, a double is recommended for speed as it produces the strength required quicker. Pull the thread through the needle so that there is an equal length of thread extending from both sides and tie a knot.
3) Using a backstitch (a strong hand sewing stitch), insert your needle into the fabric from underneath starting at one end.
4) Push the needle back through both layers of fabric about 0.5cm in along the seam line in the direction of the opposite end. Then, push the needle back up through the fabric further along the seam line towards the other end about 0.5cm from the previous stitch.
5) Then push the needle into the fabric at the base of the previous stitch going in a backwards direction. Then, push the needle back up through the fabric further along the seam line towards the other end about 0.5cm in front of the previous stitch.
6
) Continue along the length of the opening finishing at the other end.
7) To finish the seam, make a few stitches right on top of one another, this will anchor the thread like a knot and cut off the excess thread and the end and start.
8) Give your fixed seam a press with the iron.
How To Hand Sew A Blanket Stitch
Originally used to stitch the edges of blankets, it not only gives the edges a nice look but also secures them.
1) Thread a needle with embroidery thread and put a knot in the end.
2) Working with the bag right side out, and from the left-to-right direction.
3) Start between the 2 layers so the knot is hidden on the inside, pushing the needle from the inside to the top layer, then wrap the thread around to the back and push the needle up through both layers coming out at the same position.
4) As you pull the thread, pass your needle through the loop it forms to create the first secure stitch.
5) Repeat again, always coming from the back to the front and moving about 0.5cm along the seam line. Repeat until you get to the end of your seam ensuring each stitch length and depth is the same.
6) To finish the seam, from the inside so it will not be seen, make a few stitches right on top of one another, this will anchor the thread like a knot and cut off the excess thread.
create the closing of the bag
- Cut a length of cord or ribbon to insert into the rib channel.
- On the inside of the rib seam, use a seam ripper to open up a small gap.
- Attach a safety pin to the end of your cord or ribbon and push the safety pin through the gap, around the rib channel and back through the gap.
- Remove the safety pin, knot the ends of the cord/ribbon together and pull to draw the bag closed.
With the new PE bag now complete, you can decorate the front of the bag to personalise it with some of the ideas below
- Appliqué your name
- Use embroidery stitches
- Use fabric paint
- Apply a screen print
- Sew on buttons or other trims
- If you have a sewing machine, use the embroidery stitches or freestyle with free machine embroidery
MORE 'HOW TO FIX' VIDEOS
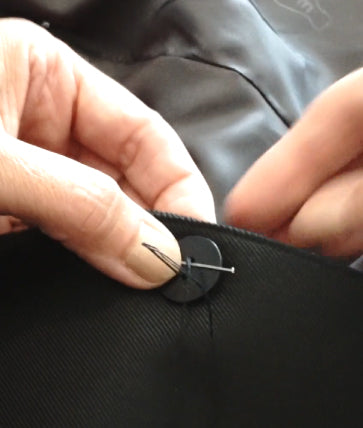
How To Sew On A Button
The Ministry of Craft has detailed how to sew a button by hand and using a machine, take a look at the easy step-by-step process below. The ability to sew a button comes in handy when one falls off your kids’ school uniform. We've detailed how to sew a button by hand and using a machine, take a look at the easy step-by-step process below.
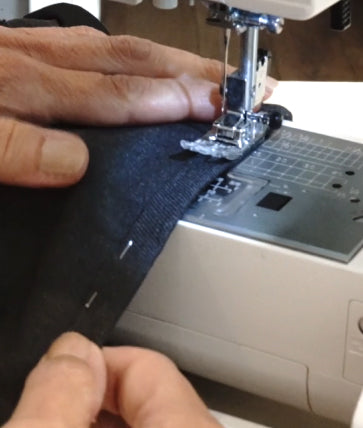
How To Hem Trousers & Turn Trousers Into Shorts
Hemming trousers is a great solution if the trousers are too long or you’ve bought a longer length to get more wear out of them. This guide can also be used for hemming school skirts and dresses, or any hem really. We've also shared how to turn trousers into a pair of shorts, a wonderful way to upcycle school trousers for the summer term.
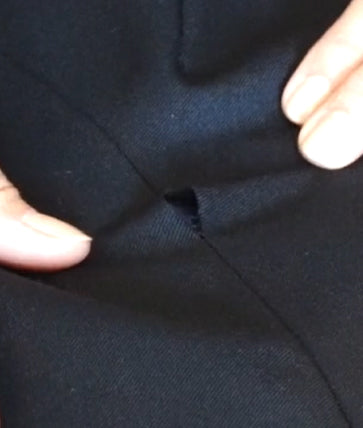
How To Repair A Ripped Seam
Repairing a broken or ripped seam is the perfect way to extend the life of an otherwise perfect garment. This easy step by step tutorial is suitable for various garment types and demonstrates how a bust seam can be mended either by hand or on a sewing machine.


